Adding a product
Prerequisites
- To add a product, make sure you have created a product category first.
- To add a subscription, you must create a subscription group for it from the E-Commerce Settings.
- To add product variations such as color or size, you must edit the respective category first and add those options.
Terminology
- Product refers to a sellable product that is listed in your store.
- Pricing tier or Product item refers to a variation of your product. For example, a product can be a T-Shirt and its product items will be Small, Medium, and Large. Each can have its own price and specifications. In a subscription store, a product can be a Basic subscription and the product items can be Monthly and Yearly.
Adding a product
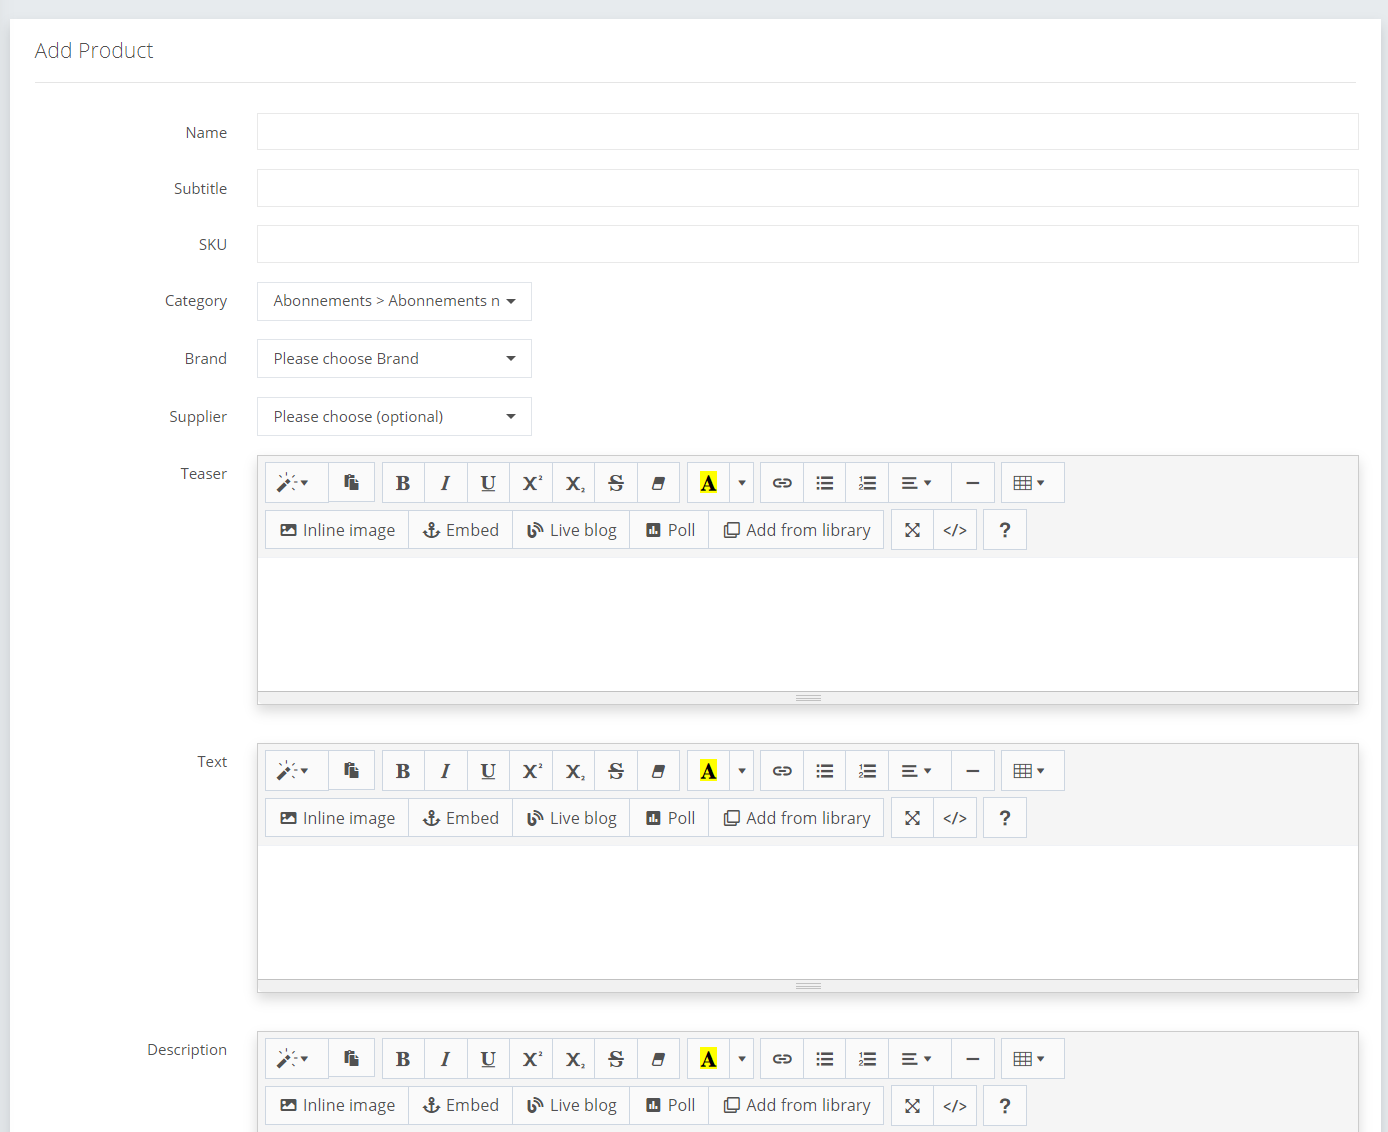
- From the menu, click on E-Commerce -> Products.
- Choose a category to place the product in. This functions as the main category of the product. In a future release, you will be able to place a product in multiple categories.
- Under the Products section, click on the "+ Add" button.
- Fill in the respective information.
- Name refers to the product name displayed on the backend and front.
- Subtitle is an optional second line for the product name.
- SKU is a unique identifier for your product. It can match a book's ISBN code, or your stock system's product codes. in the case of In-App Purchases (Google/Apple), this will be the Product ID defined in the store.
- Category will be preselected depending on the category you entered from. This can be changed here.
- Brand is optional, in case you want to deifne a manufacturer's brand's name.
- Supplier is optional and can be used to manage the suppliers of a set of products.
- Teaser is an introductory text shown outside the product's detail page.
- Text is used as a first text of description in the product detail page.
- Description is used as a long description of the product with more information about it. It typically appears lower in the page.
- Available defines whether the product will show for users and can be purchased.
- Featured defines whether you want to feature this product either on the home page or in its category page, depending on your frontend's configuration.
- Restrict existing users will prevent a user from purchasing this product if they have already purchased it before. This is useful if you are selling an offer for first-time users.
- Instant Buy allows you to add a "Buy now" button on your website in addition to the "Add to cart" button.
- Order allows you to put a position number for the product when listed in its category.
- Main image is the main image added for the product and displayed across your website and apps.
- Secondary image is simply a second image for the product.
- When all the fields are filled, press Save to create the product and start filling it its pricing tiers.
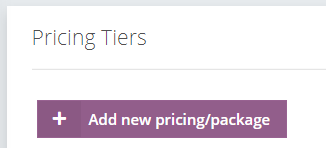
Adding a pricing tier
To add a pricing tier, go to the Product page. In case you just added a product, you are automatically taken to its page.
- Click on the button: "+Add new pricing/package":
- Fill in the needed fields:
- Description is the user-friendly description of the pricing tier, such as: "Monthly subscription" OR "Size S - Red"
- Additional label 1 is an optional label you can add for your product.
- Additional label 2 is an optional second label you can add for your product.
- Weight is the weight of the product in grams. This is only required if you are selling a tangible product that requires shipping cost calculation.
- SKU is the unique identifier for the product. Refer to the SKU field of the product for more information.
- Available defines whether the pricing tier will show for users and can be purchased.
- Once per user will prevent a user from purchasing this product if they have already purchased it before. This is useful if you are selling an offer for first-time users.
- Shippable defines whether this product is tangible and should be included in the shipping process.
- Recurrence schedule is a deprecated property. Consult support in case you feel you need to use it.
- Fill in the pricing section:
- Price: enter the price of the product's variation. The currency will be in your default currency.
- Repurchase price: optional. If a user is purchasing this product for the second time, they will be offered the product at a different price. This is useful in case you want to put an introductory pricing such as 1 USD per month and then charge the user a standard renewal (repurchase) price of 10 USD per month.
- Multi-currency support: if you are selling in multiple currencies, you can let the system calculate the current exchange rate or manually choose your prices in other currencies. This is useful if you have different pricing in different markets.
- For automatically renewable items like subscriptions, you can also fill in the "Subscription" section.
- Enable recurrent billing is required so that the product is treated as renewable.
- Recurrent starts is the number of days to wait before biling the user for the first renewal (second payment). It is advised to keep this field empty.
- Installments is the maximum renewals, after which the subscription is automatically cancelled.
- Allow upgrade can be used to allow users to switch from a previous subscription to this one. You may define additional options such as:
- Fixed price or pro-rated depending on the number of days left in the user's subscription
- Upgrade from certain products only
- Exclude certain products from upgrading to this one
- Price of the product per month to calculate for the pro-rated pricing method. For more information and assistance in configuring upgrade paths, please contact support.
- When purchased: defines what happens when the product is purchased.
- Create new subscription: allows you to give the user a subscription to a specific subscription groups. You must have already created the subscription group in E-Commerce -> Settings.
- Add points: Allows you to give the user a credit balance which can be used to redeem or purchase content.
- When renewed is the same as the previous field. It is optional and should be filled only if you want the renewal to be different than the initial purchase. For example, the initial purchase can be for 1 year, and the renewal after the first year can be for every 1 month.
- Press on Save to add the pricing tier.
- After that, your product is available for sale.